Overview
You have many users in AlertFind and want to be able to send Notifications to them based on their geographic location.
Prerequisites
Enable Map-Based Notifications
- Logon as an Administrator in the Global context
- From the left navigation menu, Administration section, click Application Settings
- Click the Edit button directly under the “Settings” heading to open the Settings page
- Locate the 'Map Based' field and place a check in this checkbox
- Click the Save button to save your changes and enable map-based notifications
Select Individual Users
In order to select individual users their map coordinates must be in the database. This is done through the User Editor Location Preference window. See the Enter or Change a User's Location Preference section of the Editing User Details article.
Select One or More Sites
Sites must be created and populated with Groups of users. See Create an AlertFind Site for more information.
Solution
Geographic-based notifications can be sent using a Smart Group or a Polygonal Geographic region.
Send Notifications to a Smart Group
Create a Smart Group with criteria such as Country, State, City, Zip Code, or custom field, such as Home_City. When Users are added to your Roster they are automatically part of any Smart Group whose criteria they match.
- From the Alert Console, click the Compose icon
- Enter the name of your Smart Group in the To field
- Enter the Subject and Message, then click Send Selected Notification
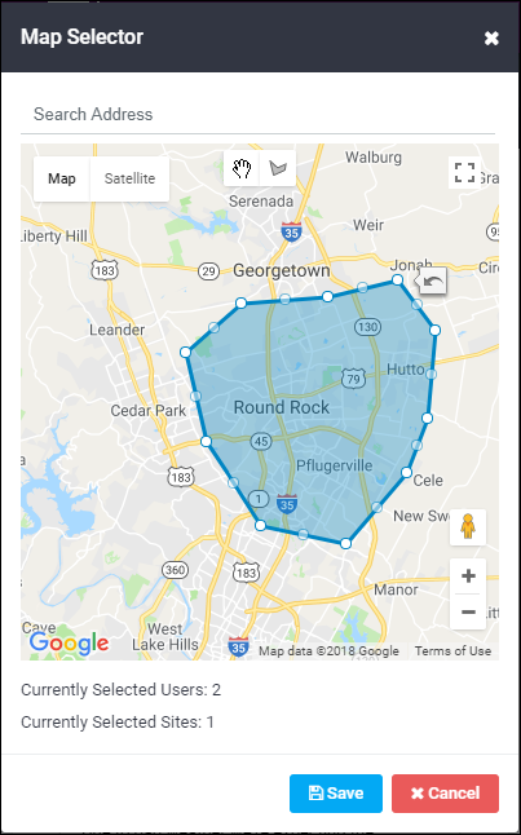
Send Notifications to Users in a Polygonal Geographic Region
- From the Alert Console, click the Compose icon
- Click the Geographical Location Icon
 which is to the right of the To text field
- With your finger or mouse, move the displayed map to select the general map area that you want
- Click the polygon icon
 . Then select a specific geographical location by clicking on the map to start drawing the polygon. Next, click at each corner of the polygon. Double-click on the last point, or click on the first point, to enclose the area
- If you want to move the polygon, click the hand icon,
 , using the hand cursor, click-and-hold on the polygon and drag it to the new position
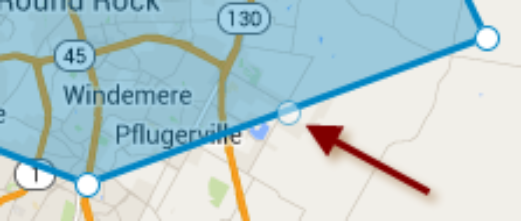
- To edit the shape of the polygon, using the hand cursor,, click-and-hold on a corner point and move it to the desired location
- To create new points, click-and-hold on a new-point dot between the existing corner points, and drag to the desired location
- When using the hand cursor, you can click on the Undo icon,
 , to undo the last action
- Draw more polygons, if desired
- All users and Sites located within the polygon(s), and members of the selected team context, will be recipients of the Notification
- The Currently Selected Users and Currently Selected Sites counts update when a polygon is added, changed or moved
NOTE
No individual polygon within a group can be deleted by itself. To delete all polygons, if the location(s) hasn't been saved, click Cancel. Otherwise, click Done and return to the composition window and delete the Temporary Group that corresponds to the polygons to be deleted.
- If you want to move the polygon, click the hand icon,
- Click Done to save the area and return to the notification composition screen
- Enter the Subject and Message, then click Send Selected Notification
Priyanka Bhotika
Comments