Overview
When you need to process a roster, AlertFind provides the Automated Roster Import Tool to enable you to import rosters of User, Team, and Site data into your AlertFind system.
Prerequisites
- You are an Admin
- The file format must be in .csv (comma-delimited) using UTF-8 encoding (not UTF-8 BOM), then the file must be compressed into a .zip container
- The filename must match exactly the name used in the last import
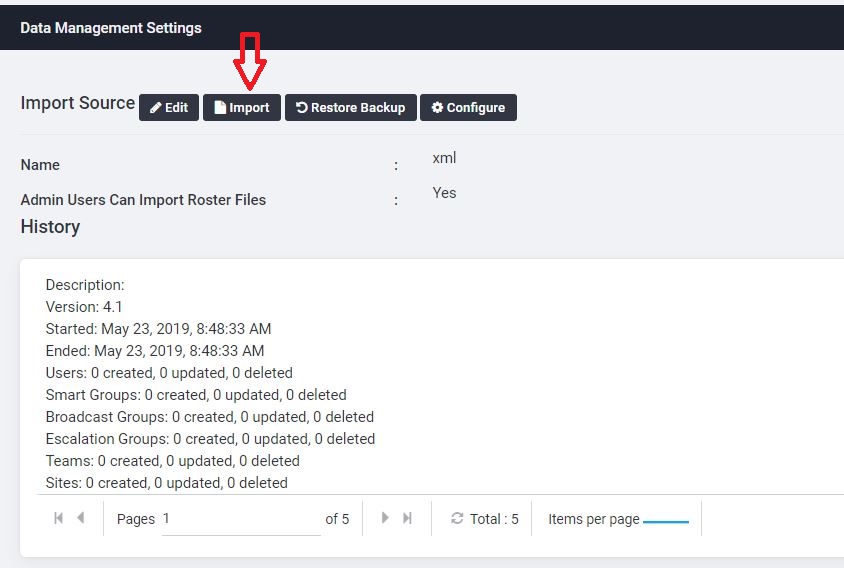
- Click Setting > Data Management
- Click Configure to see the file name used in the last import. Use this same file name.
- The file structure should match certain criteria, for further clarification on this, please check this article: "Unexpected error occurred while importing file." in AlertFind The file name and headers are set by the onboarding team, then hardcoded into Python - changes require programming changes
Important note:
Only the last committed roster can be backed up. In the event that a roster is uploaded and committed with errors that need to be fixed, the previous roster will need to be restored prior to committing a new roster. Otherwise, the "last backup" will be the roster with bad data.
Example:
- There is a roster with good data in the AlertFind system (version 1).
- A new uploaded roster (version 2) is committed and one realizes it contains bad data.
- If a roster is uploaded and committed with fixed data (version 3), the "last version" is not version 1, but is version 2.
- To restore from version 3 to version 1 will require assistance from Support.
Solution
- Log in as an Admin to AlertFind
List of Alertfind UI URLs:- Alertfind Chicago :- https://chicago.alertfind.com/
- Alertfind Plano :- https://plano.alertfind.com/
- Alertfind London :- https://london.alertfind.com/
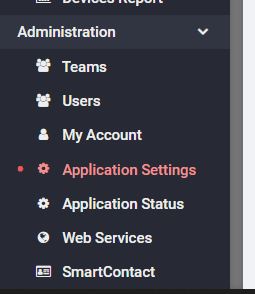
- In the left pane, click on Application Settings
- In the right pane, scroll down to Data Management Settings and click Import.
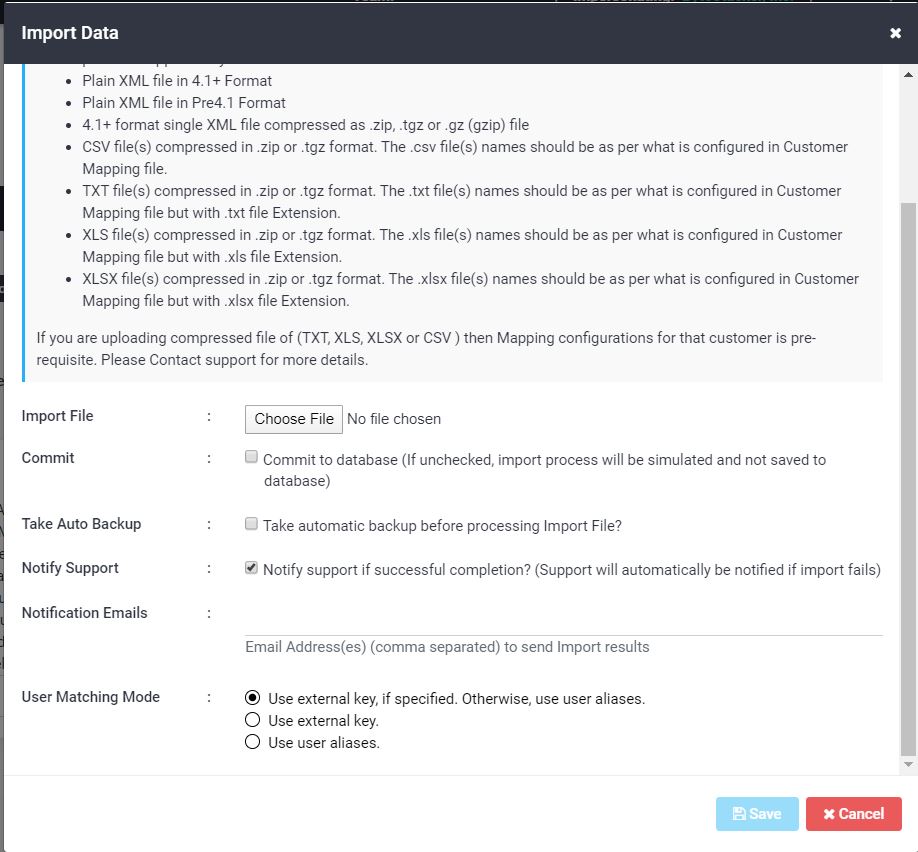
- Click on Choose File and pick the .zip or .tgz file that contains your source file and click Open.
- In Notification Emails enter your email address.
- Click OK to generate a “simulated import”, meaning any changes are not committed to the database but can be reviewed in the resulting log file for errors before committing the changes.
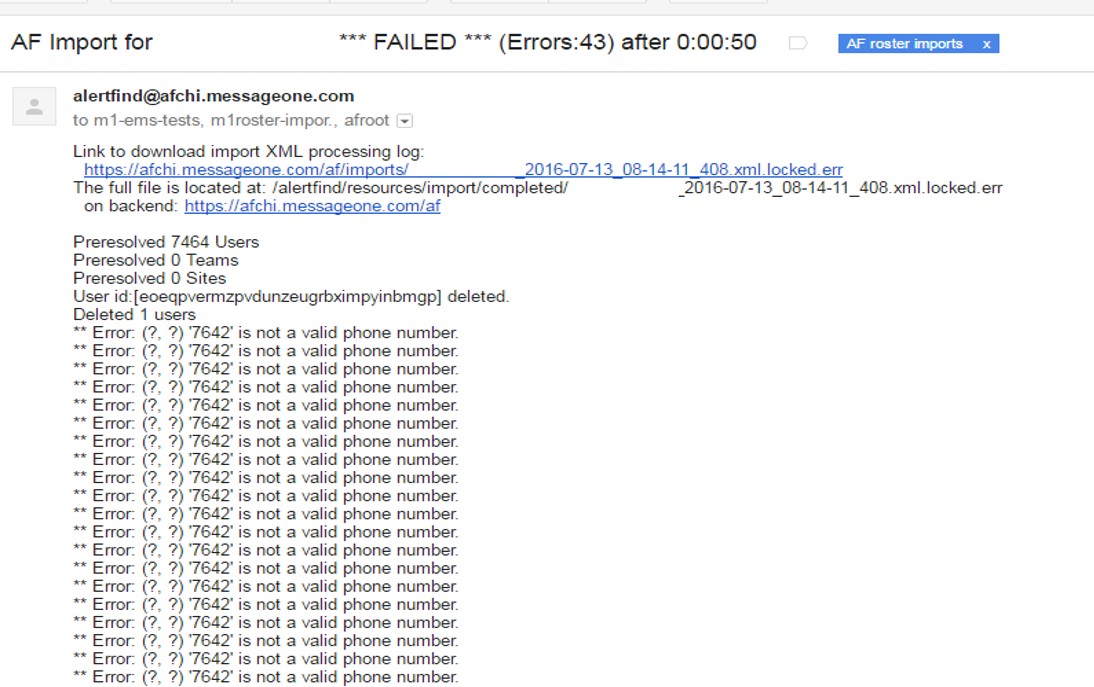
- Check your email and you will receive a message containing two file links, as well as the text showing what will be changed. To use the links in the email: first log into AlertFind, and then copy/paste the links from the email, into your AlertFind window address bar and the results will be displayed.
IMPORTANT: Proceed to the next step ONLY after you have validated that the changes that are shown are what you want to import into your production data. If you are still facing errors during the simulation step, please check the following article: "Unexpected error occurred while importing file." in AlertFind
- In the right pane, scroll down to Data Management Settings and click Import.
- Click on Choose File and pick the .zip or .tgz file that contains your source file and click Open.
- Select the Commit check box (Take Auto Backup will be automatically checked)
- In Notification Emails enter your email address
- Click the Save button


Your roster has now been imported. Check your email for links to the log file.
Priyanka Bhotika
Comments